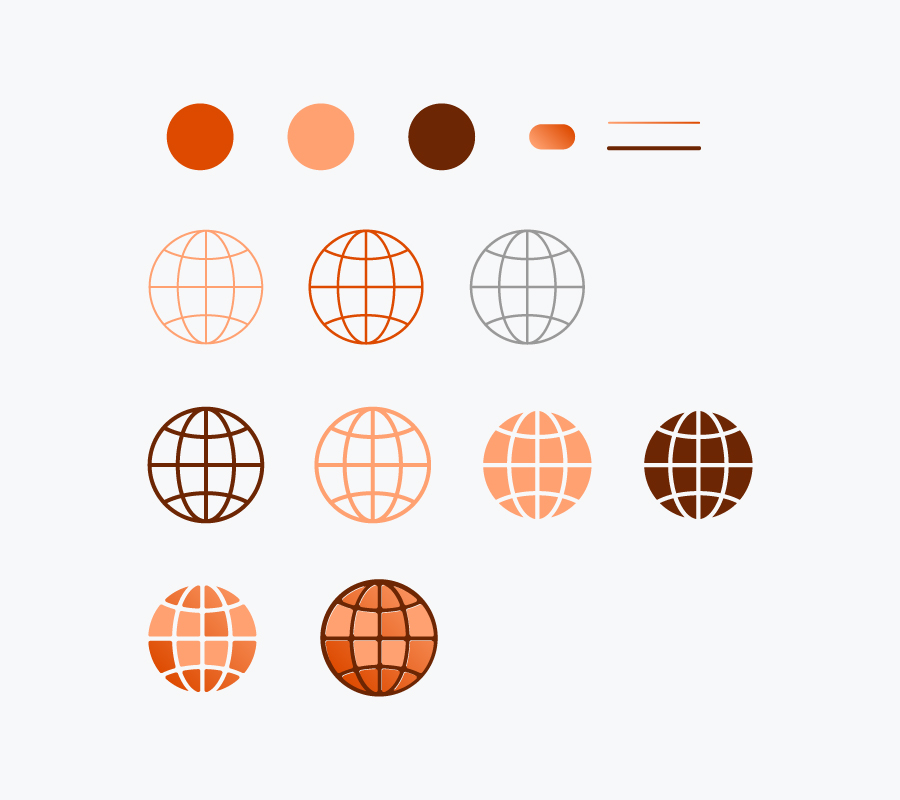
Hello Designers, today I’ll show you how to create a globe icon easily with some simple steps. Before start, we need some basic elements, such as color palettes to make ready for the icons.
So let’s start to create a globe icon with some simple steps!
Making the color palettes:
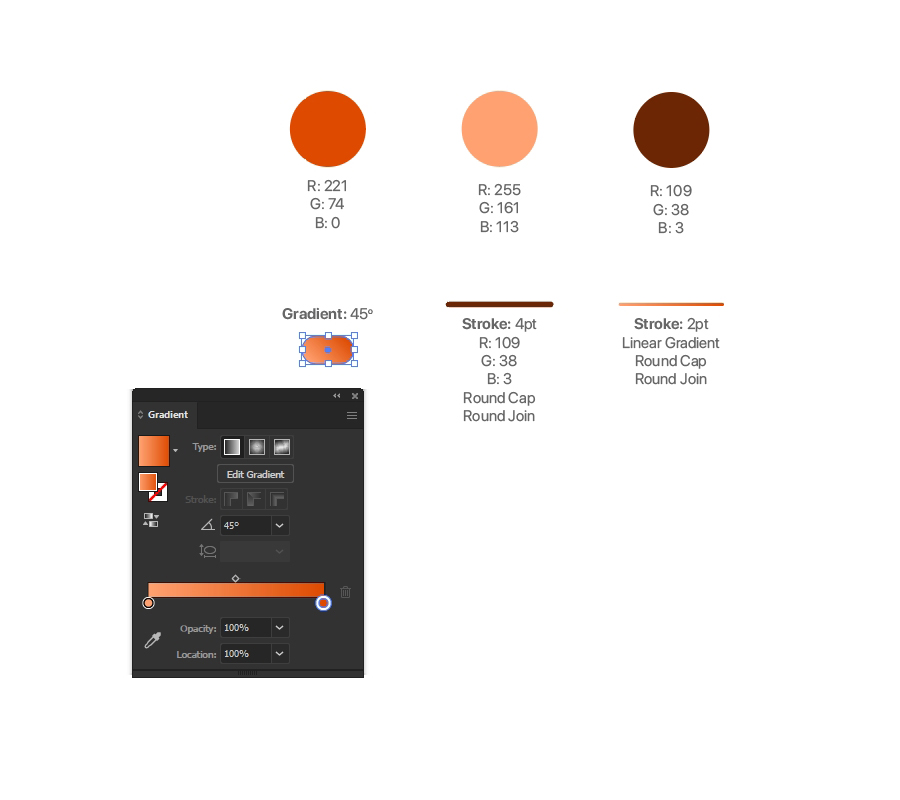
Solid Color 1: Make an RGB swatch with R-221, G-74, B-0
Solid Color 2: Make an RGB swatch with R-255, G-161, B-113
Solid Color 3: Make an RGB swatch with R-109, G-38, B-3
Gradient Color: Left RGB (R-255, G-161, B-113), Right RGB (R-221, G-74, B-0) and make gradient 45 degree angle.
Solid Stroke: Stroke width 4pt, color R-109, G-38, B3. Make stroke Round Cap and Round Join.
Gradient Stroke: Stroke width 2pt, Linear Gradient Color: Left RGB (R-255, G-161, B-113), Right RGB (R-221, G-74, B-0) and make gradient 45 degree angle. That’s all for color palettes.

Let’s start!
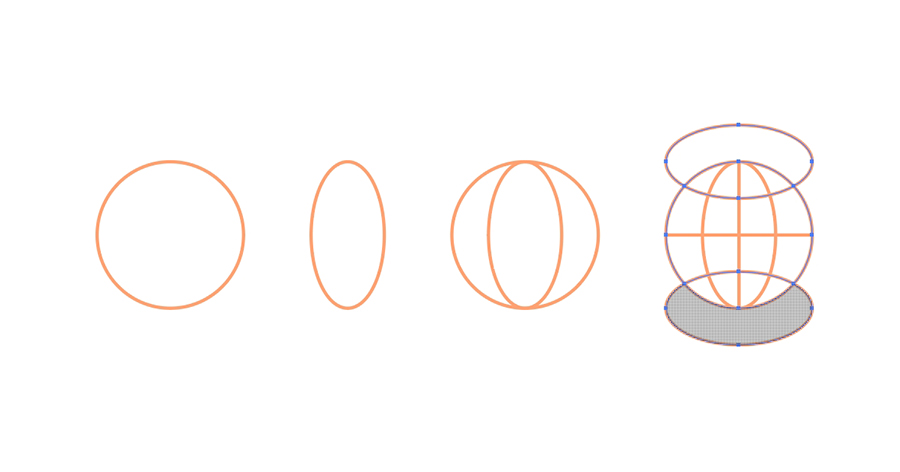
Make a circle H: 100px and W: 100px. Pick the Gradient Stroke color by Eyedropper. Duplicate the circle and change the width to 50px and make it center-aligned and duplicate it. Rotate it at 90 degrees. Drag it to the bottom edge (make sure you activate the Smart Guides) and center it to the anchor point of the circle. Delete the outer area with Shape Builder Tool. To do it select both circles with Shift Key (see the screenshot). Click on Shape Builder Tool, press Alt Key and click on the outer area where need to remove it.

After then make an outline stroke, height 100px, and pick the RGB solid Color 2 by Eyedropper tool. Align the center of the circle. Duplicate it and rotate it in 90 degrees. And we are done!

Please check the video tutorial about “How to create a globe icon in Adobe Illustrator“. I hope this video will help you to create “a globe icon” very quickly and easily.
If you like this tutorial just thumbs up the tutorial video. Cheers!
Leave a Reply